Custom die cut stickers have become a popular choice for businesses, artists, and individuals looking to make a statement. These stickers are uniquely shaped to match the design, offering a professional and polished look that standard stickers can’t match. If you’re curious about how custom die cut stickers are made, this comprehensive guide will take you through each step of the process, from the initial concept to the final creation.
Understanding Die Cut Stickers
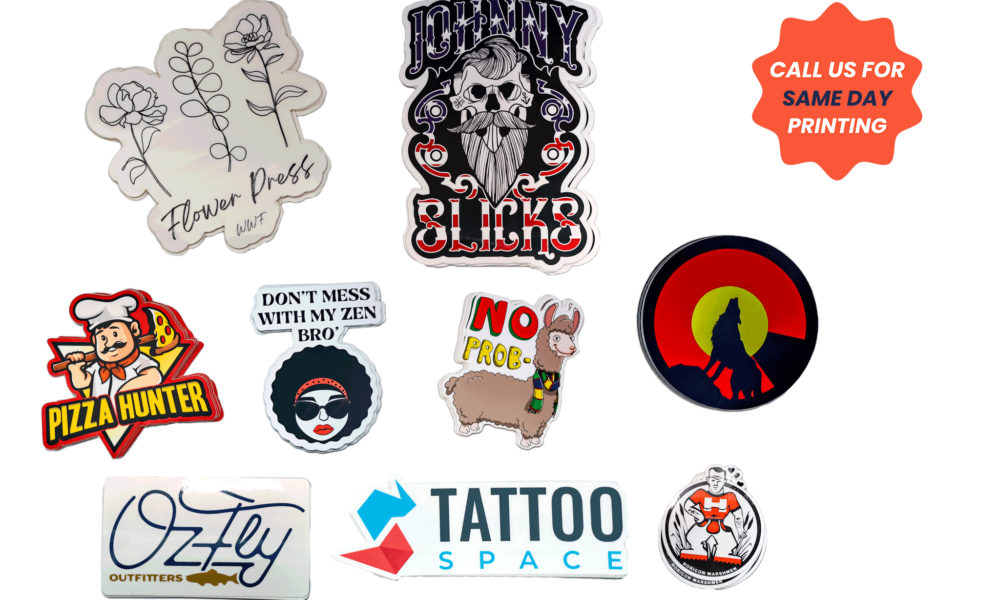
Before diving into the process, it’s essential to understand what die cut stickers are. Unlike regular stickers that are cut into standard shapes like squares or circles, die cut stickers are precisely cut to the shape of your design. This custom cutting process gives them a distinct and appealing look, making them ideal for branding, promotional purposes, and personal use.
Step 1: Concept and Design
Brainstorming and Ideation
The first step in creating custom die cut stickers is brainstorming and ideation. Whether you’re designing for a brand, event, or personal project, start by defining the purpose and audience for your stickers. Consider what message you want to convey and what design elements will best represent that message.
Designing Your Sticker
Once you have a clear concept, it’s time to create the design. Using graphic design software like Adobe Illustrator, CorelDRAW, or even online tools like Canva, you can start bringing your idea to life. Keep the following tips in mind:
Simplicity: Simple designs are often more effective and easier to reproduce.
Colors: Use a limited color palette to ensure your design stands out and is cost-effective.
Details: Pay attention to details, especially the edges, since these will be cut precisely.
Creating a Cut Path
A critical part of the design process for die cut stickers is creating a cut path, also known as a cut line. This line dictates where the sticker will be cut. It’s usually represented by a vector path in your design file. Ensure the cut path is smooth and follows the contours of your design closely.
Step 2: Preparing the Artwork
File Format
When your design is ready, save it in a format suitable for printing and cutting. Common file formats include AI, EPS, PDF, and sometimes high-resolution PNGs. Make sure the file is in CMYK color mode, as this is the standard for printing.
Bleed Area
Include a bleed area in your design. This is an extra margin around the edges of your design that ensures there are no unprinted edges after cutting. A standard bleed is usually about 1/8 inch (3mm).
Proofing
Before sending your design off for production, proof it carefully. Check for any errors in the design, alignment issues, or color discrepancies. It’s also a good idea to get a second opinion or have someone else review it.
Step 3: Choosing Materials
Sticker Material
The material you choose for your stickers will affect their appearance, durability, and cost. Common materials include:
Vinyl: Durable and weather-resistant, ideal for outdoor use.
Paper: Suitable for indoor use and more cost-effective.
Polyester: Offers a glossy finish and high durability.
Adhesive
Consider the adhesive properties of the sticker material. Permanent adhesives are long-lasting, while removable adhesives allow the sticker to be peeled off without leaving residue. There are also repositionable adhesives that offer a balance between the two.
Finish
Decide on the finish of your stickers. Options include:
Glossy: Shiny and vibrant, great for eye-catching designs.
Matte: A non-reflective finish that offers a more subtle look.
Transparent: Allows the surface underneath to show through.
Step 4: Printing
Choosing a Printing Method
There are several printing methods available, each with its pros and cons:
Digital Printing: Ideal for small batches and offers quick turnaround times.
Offset Printing: Best for large quantities and provides high-quality prints.
Screen Printing: Suitable for designs with few colors and offers vibrant, long-lasting prints.
Color Matching
Ensure accurate color matching by using Pantone colors or providing CMYK color values. This step is crucial for maintaining brand consistency and achieving the desired look.
Step 5: Die Cutting
Creating the Die
The die cutting process requires a custom die, a metal tool used to cut the stickers. The die is crafted based on the cut path you provided in your design. This tool is then used to punch out the stickers from the printed material.
Die Cutting Process
The material is fed into a die cutting machine, where the custom die cuts each sticker precisely. This process can handle intricate shapes and fine details, ensuring that your stickers look professional and polished.
Step 6: Finishing Touches
Weeding
After die cutting, the excess material around the stickers, known as the weed, needs to be removed. This process can be done manually or by using a weeding tool.
Laminating
Laminating adds a protective layer to your stickers, enhancing their durability and resistance to scratches, UV light, and moisture. You can choose between glossy and matte laminates based on your preference.
Quality Check
Perform a quality check to ensure each sticker meets your standards. Look for any defects in the print or cut, and ensure the adhesive is functioning correctly.
Step 7: Packaging and Shipping
Once your stickers have passed the quality check, they are ready to be packaged. Depending on the quantity and size, stickers can be packaged in rolls, sheets, or individually. Proper packaging ensures they arrive at their destination in perfect condition.
Conclusion
Creating custom die cut stickers is a detailed process that requires careful planning, precise execution, and attention to detail. From the initial concept and design to choosing materials and cutting the final product, each step plays a crucial role in ensuring the quality and appeal of your stickers. By following this comprehensive guide, you can create stunning custom die cut stickers that make a lasting impression. Whether you’re using them for branding, promotions, or personal projects, the unique appeal of die cut stickers is sure to stand out.